iOS에서 SnapKit 이용하기
storyboard가 아닌 SnapKit 라이브러리를 사용하여 autoLayout을 코드로 직접 코딩할 수 있다.
class ViewController: UIViewController {

    var redBox = UIView()

    override func viewDidLoad() {
        super.viewDidLoad()

        self.view.addSubview(redBox) // autoLayout을 적용하기 위해 먼저 view에 추가. 추가 안하면 에러남

        redBox.backgroundColor = .red

        redBox.snp.makeConstraints { make in
            make.width.height.equalTo(50) // 너비, 높이 모두 50으로 설정
            make.center.equalTo(self.view) // make의 중심을 ViewController의 기본 view의 중심과 일치시킨다
        }

        let blueBox = UIView()
        self.view.addSubview(blueBox)

        blueBox.backgroundColor = .blue
        blueBox.snp.makeConstraints { make in
            make.leading.equalTo(10) // 왼쪽. left로도 사용 가능
            make.trailing.equalTo(-10) // 오른쪽. right로도 사용 가능
            make.height.equalTo(50)
            make.top.equalTo(redBox.snp.bottom).offset(5) // box2의 위쪽에 box가 5의 간격으로 위치
        }

        let greenBox = UIView()
        self.view.addSubview(greenBox)

        greenBox.backgroundColor = .green
        greenBox.snp.makeConstraints { make in
            make.leading.equalTo(10)
            make.width.height.equalTo(50)
            make.bottom.equalTo(redBox.snp.top).offset(5) // greenBox의 아래쪽에 box가 5의 간격으로 위치
        }
    }
}
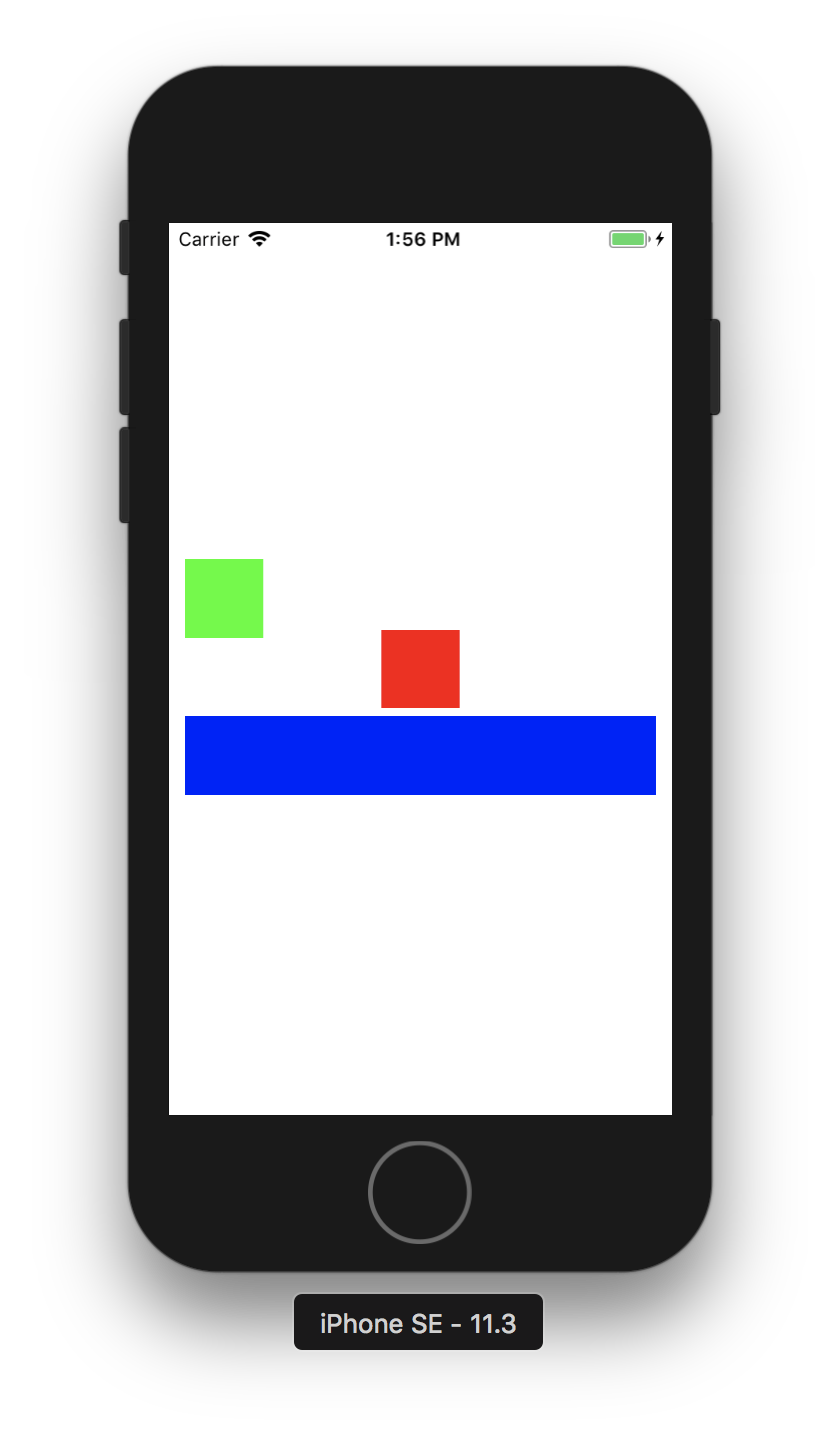
결과

