TableView 사용하기
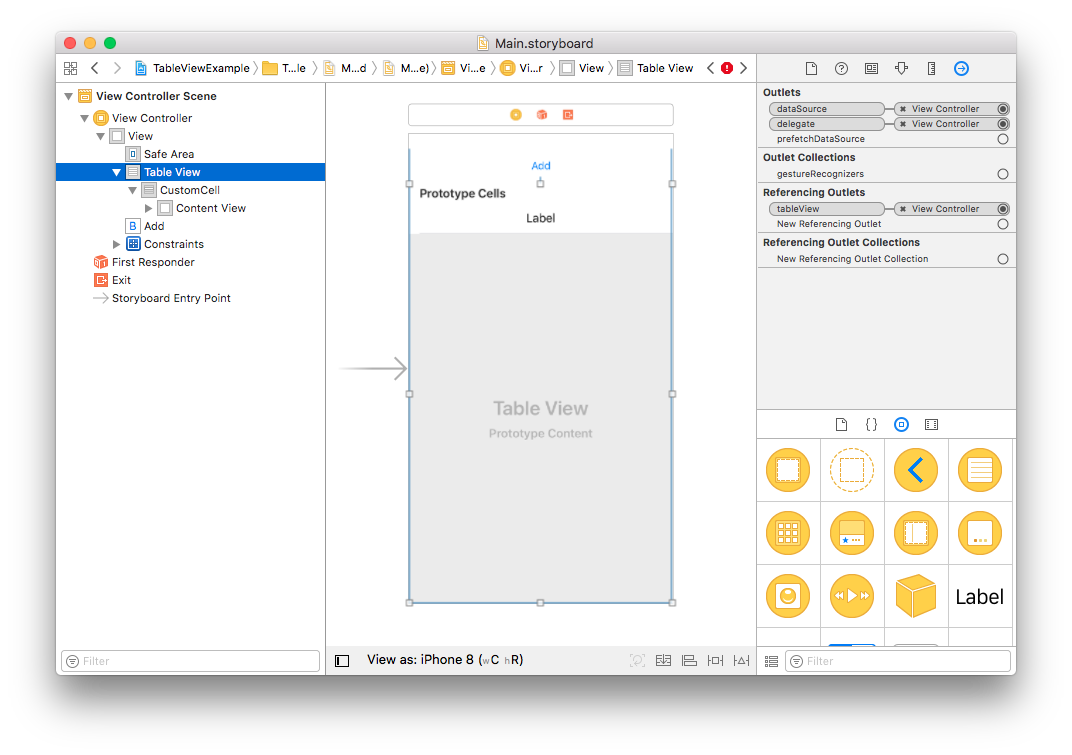
storyboard 연결
 Outlet의 dataSource : TableView에 data를 정의해주기 위한 delegate interface이다.
Outlet의 delegate : TableView에 이벤트를 정의하기 위한 delegate interface이다.
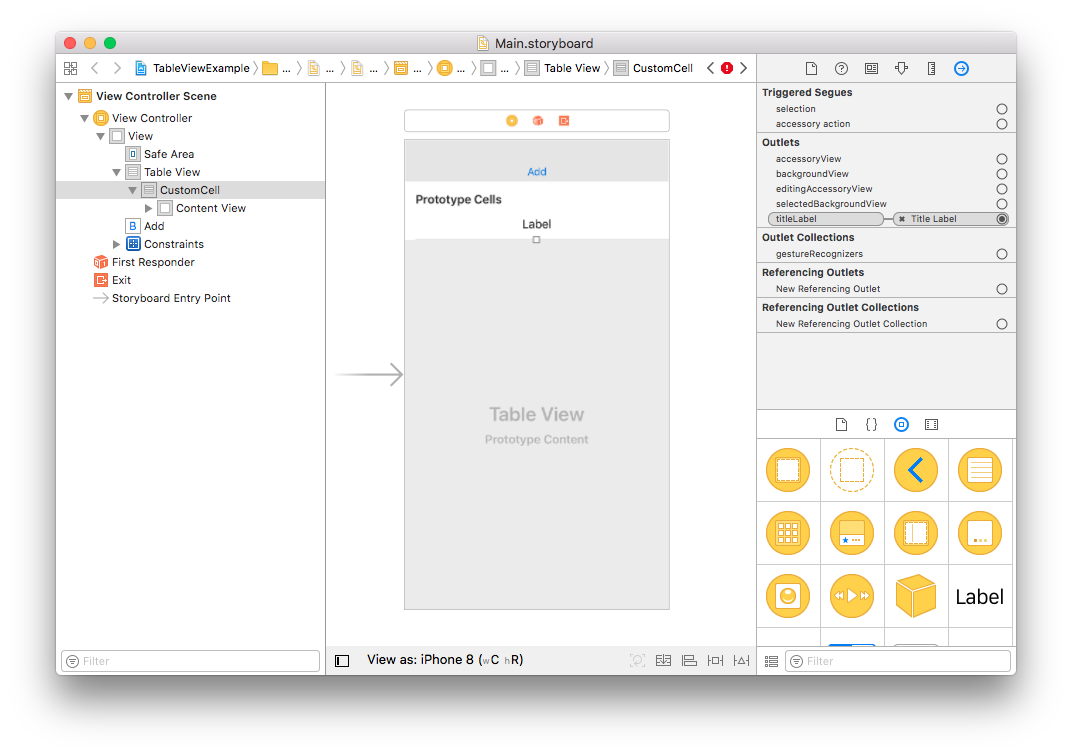
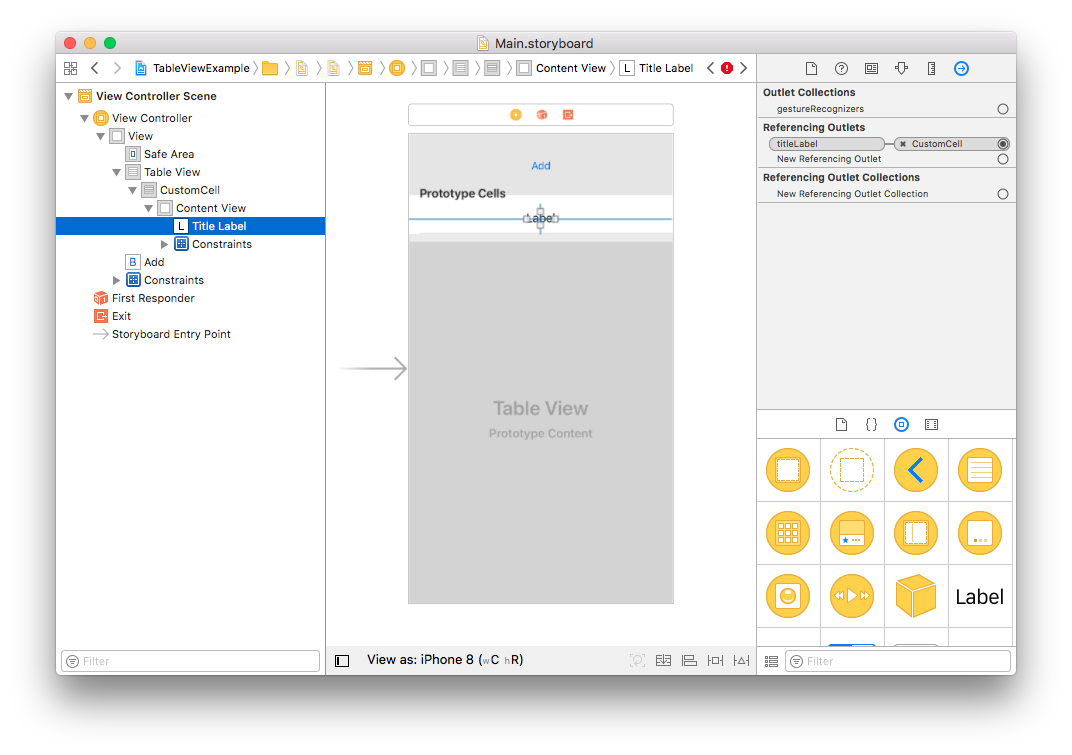
 Prototype Cells의 개수를 늘이면 그와 연결된 새 Cocoa Touch class를 생성해주어야 한다. 생성 후, storyboard에서 만든 TableView Cell을 클릭하고 identify inspector의 class 이름을 똑같이 입력해야 storyboard와 연결된다.
또 attribute inspector의 identifier도 쉽게 클래스 이름과 동일히 입력해줘서 ViewController.swift에서 CustomCell을 재활용할 때 식별자로 입력하도록 한다.


ViewController.swift
class ViewController: UIViewController {
// IBOutlet을 이용해서 Storyboard의 테이블 뷰와 소스코드의 tableView를 연결해준다.
@IBOutlet var tableView: UITableView!
var data: [Int] = []
var count: Int = 0
override func viewDidLoad() {
super.viewDidLoad(
)
}
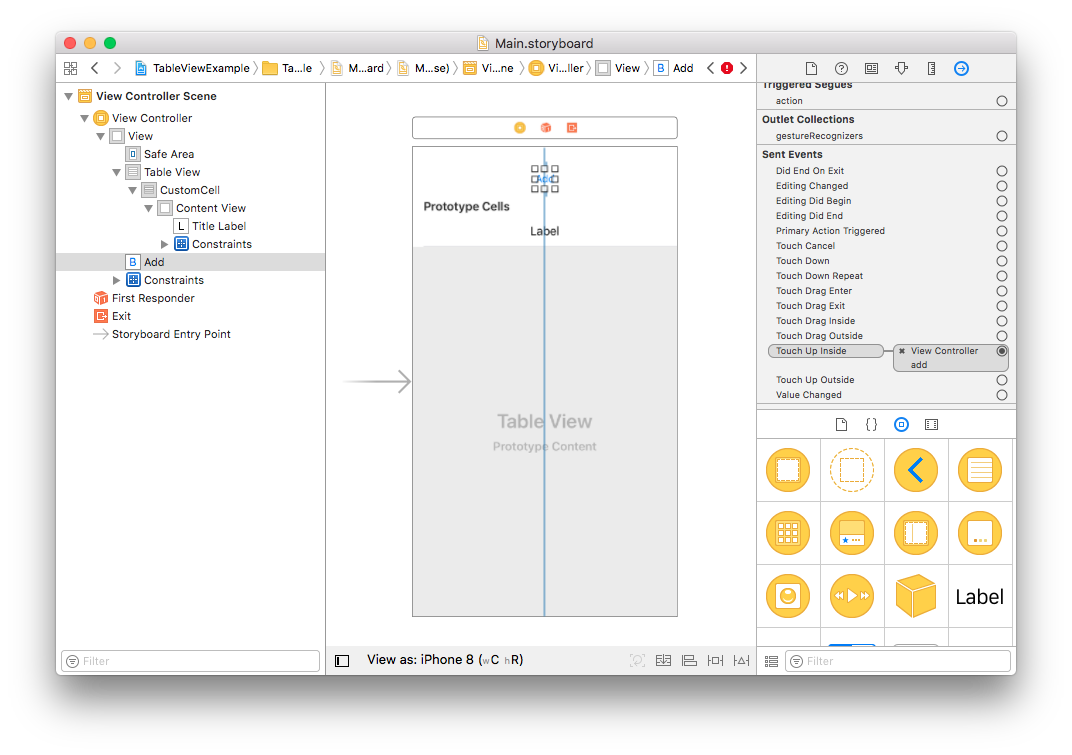
// Button의 터치 이벤트와 add() 메서드를 연결
@IBAction func add() {
count +
= 1
data.append(count) // 데이터를 추가
tableView.insertRows(at: [IndexPath(row: count-1, section: 0)], with: .right) // Cell을 IndexPath 위치에 추가.
// tableView.reloadData() // 편하지만 성능에 좋지 않다.
}
}
extension ViewController: UITableViewDelegate, UITableViewDataSource {
// 테이블 뷰의 섹션 수를 정의한다. 여기서는 1개의 섹션만 이용한다.
func numberOfSections(in tableView: [.UITableView) -> Int {
return 1
}
// 테이블 뷰의 섹션 내부의 Cell 수를 정의한다. 여기서는 섹션 당 Cell이 data의 아이템 개수이다.
func tableView(_ tableView: UITableView, numberOfRowsInSection section: Int) -> Int {
return data.count
}
// Cell의 모양을 정의한다. 여기서는 CustomCell이라는 것을 연결하여 titleLabel을 꾸며준다.
func tableView(_ tableView: UITableView, cellForRowAt indexPath: IndexPath) -> UITableViewCell { // indexPath.row는 현재 셀의 순서를 의미한다. 이 함수는 셀을 끝까지 다 돈다.
let cell = tableView.dequeueReusableCell(withIdentifier: "CustomCell") as! CustomCell // CustomCell을 재활용한 Cell을 가져온다. 만든 CustomCell으로 강제 형변환 as!를 해준다.
cell.titleLabel.text = "\(data[indexPath.row])" // titleLabel의 text를 정의
return cell // cell을 return 해야한다.
}
}
