UIView로 원과 그림자 구현하기
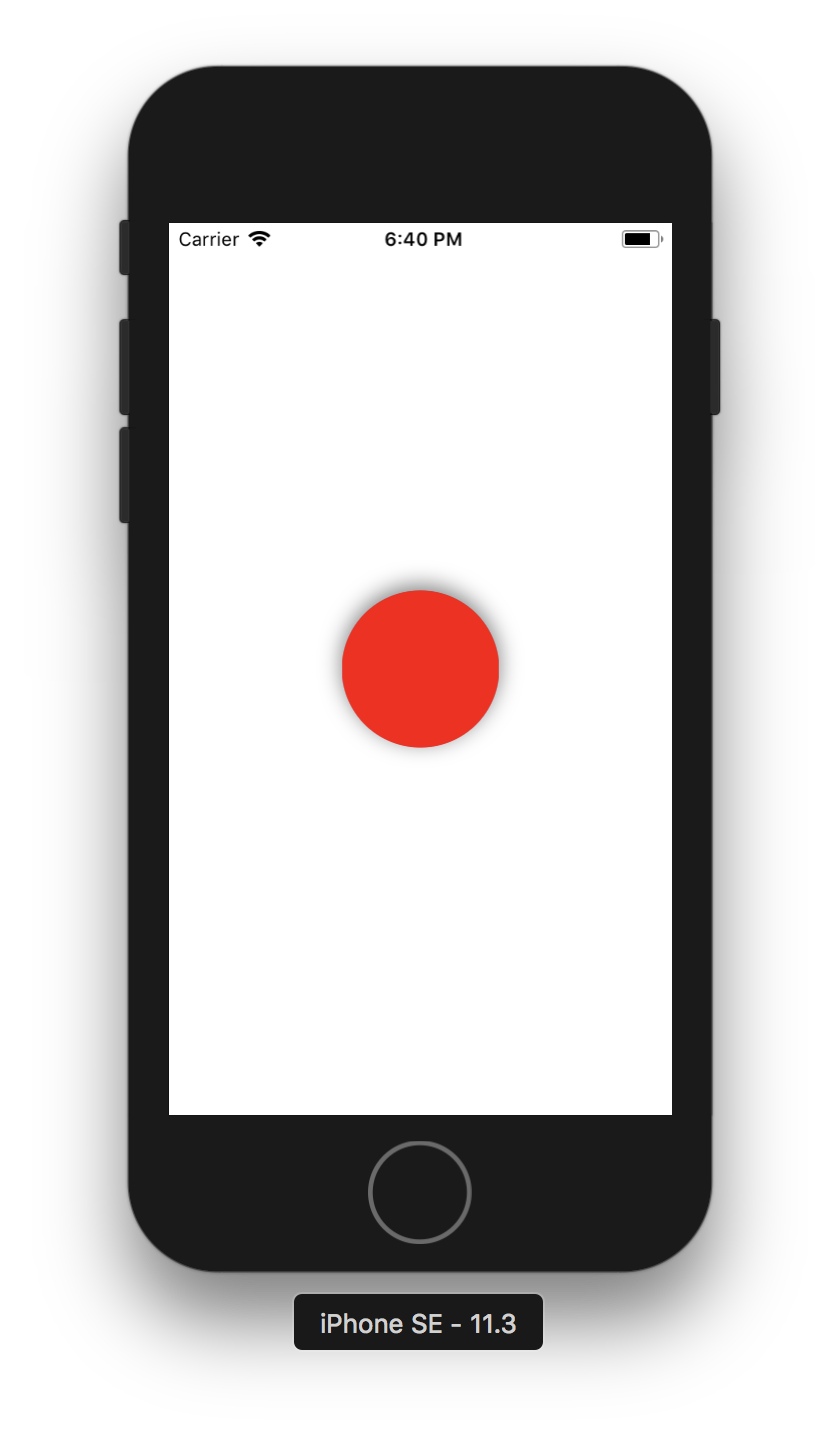
- UIView를 사용하여 뷰의 가운데에 빨간색 원을 구현하고, 그 원에 그림자 효과를 넣어보았다.
UIScreen.main.bounds.size.width와UIScreen.main.bounds.size.height로 스크린 화면의 가로, 세로 크기를 구할 수 있다.view.layer.cornerRadius의 값으로 모서리를 둥글게 조절할 수 있다. 정사각형 모양으로 가정하고 한 변의 길이 / 2 의 값으로view.layer.cornerRadius값을 설정하면 원 모양이 된다.circle.layer.shadowOpacity로 그림자의 투명도를 조절한다.circle.layer.shadowRadius로 그림자의 반경을 조절한다.
ViewController.swift (수정 전)
class ViewController: UIViewController {

    var circle: UIView = UIView()
    var centerX = UIScreen.main.bounds.size.width * 0.5
    var centerY = UIScreen.main.bounds.size.height * 0.5

    override func viewDidLoad() {
        super.viewDidLoad()
        // circle의 위치 및 크기 설정
        circle.frame = CGRect(x: centerX, y: centerY , width: 100, height: 100)
        // circle의 색깔 설정
        circle.layer.backgroundColor = UIColor.red.cgColor
        // circle의 radius를 width(height)의 반으로 설정하여 원 모양으로 만듬
        circle.layer.cornerRadius = 50
        // circle의 그림자 설정
        circle.layer.shadowOpacity = 0.5
        circle.layer.shadowRadius = 7

        self.view.addSubview(circle)
    }
}
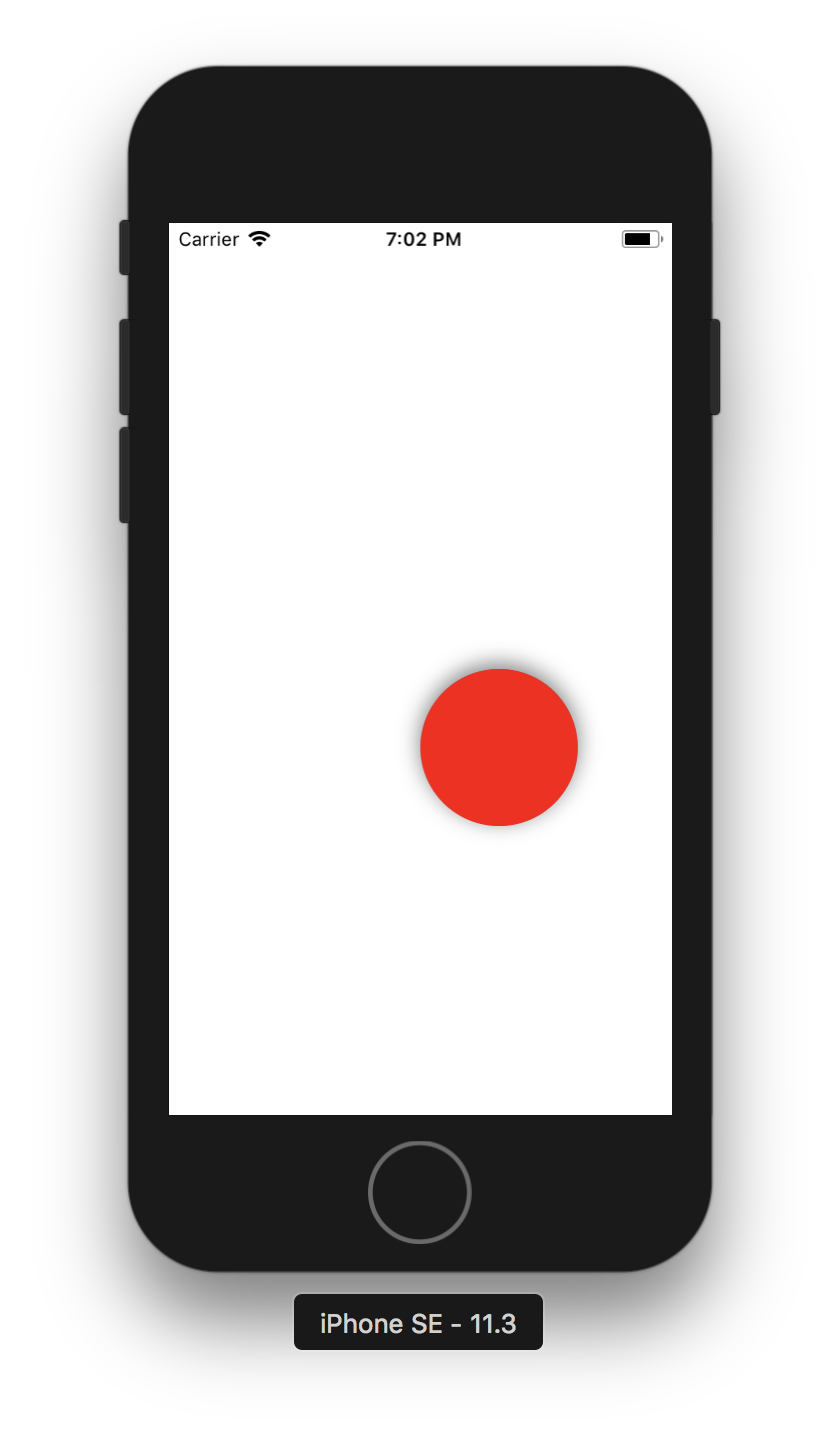
수정 전 결과

View는 왼쪽 상단 모서리부터 위치하기 때문에, 정 가운데에 위치하게 하기 위하여 한 변의 길이 / 2 의 값을 각각의 x좌표, y좌표에서 빼주었다.
ViewController.swift (수정 후)
class ViewController: UIViewController {

    var circle: UIView = UIView()
    var centerX = UIScreen.main.bounds.size.width * 0.5
    var centerY = UIScreen.main.bounds.size.height * 0.5

    override func viewDidLoad() {
        super.viewDidLoad()
        // circle을 뷰의 정 중앙으로 이동하기 위해 위치 조정을 해준다
        circle.frame = CGRect(x: centerX - 50, y: centerY - 50, width: 100, height: 100)
        circle.layer.backgroundColor = UIColor.red.cgColor
        circle.layer.cornerRadius = 50
        circle.layer.shadowOpacity = 0.5
        circle.layer.shadowRadius = 7

        self.view.addSubview(circle)
    }
}
결과

