Collection View 사용하기
Add 버튼을 눌르면 이미지가 추가되는 어플을 만들어 보았다. 이미지는 Kingfisher 라이브러리를 사용하여 image placeholder 페이지에서 100x100 사이즈 이미지를 가져왔다.
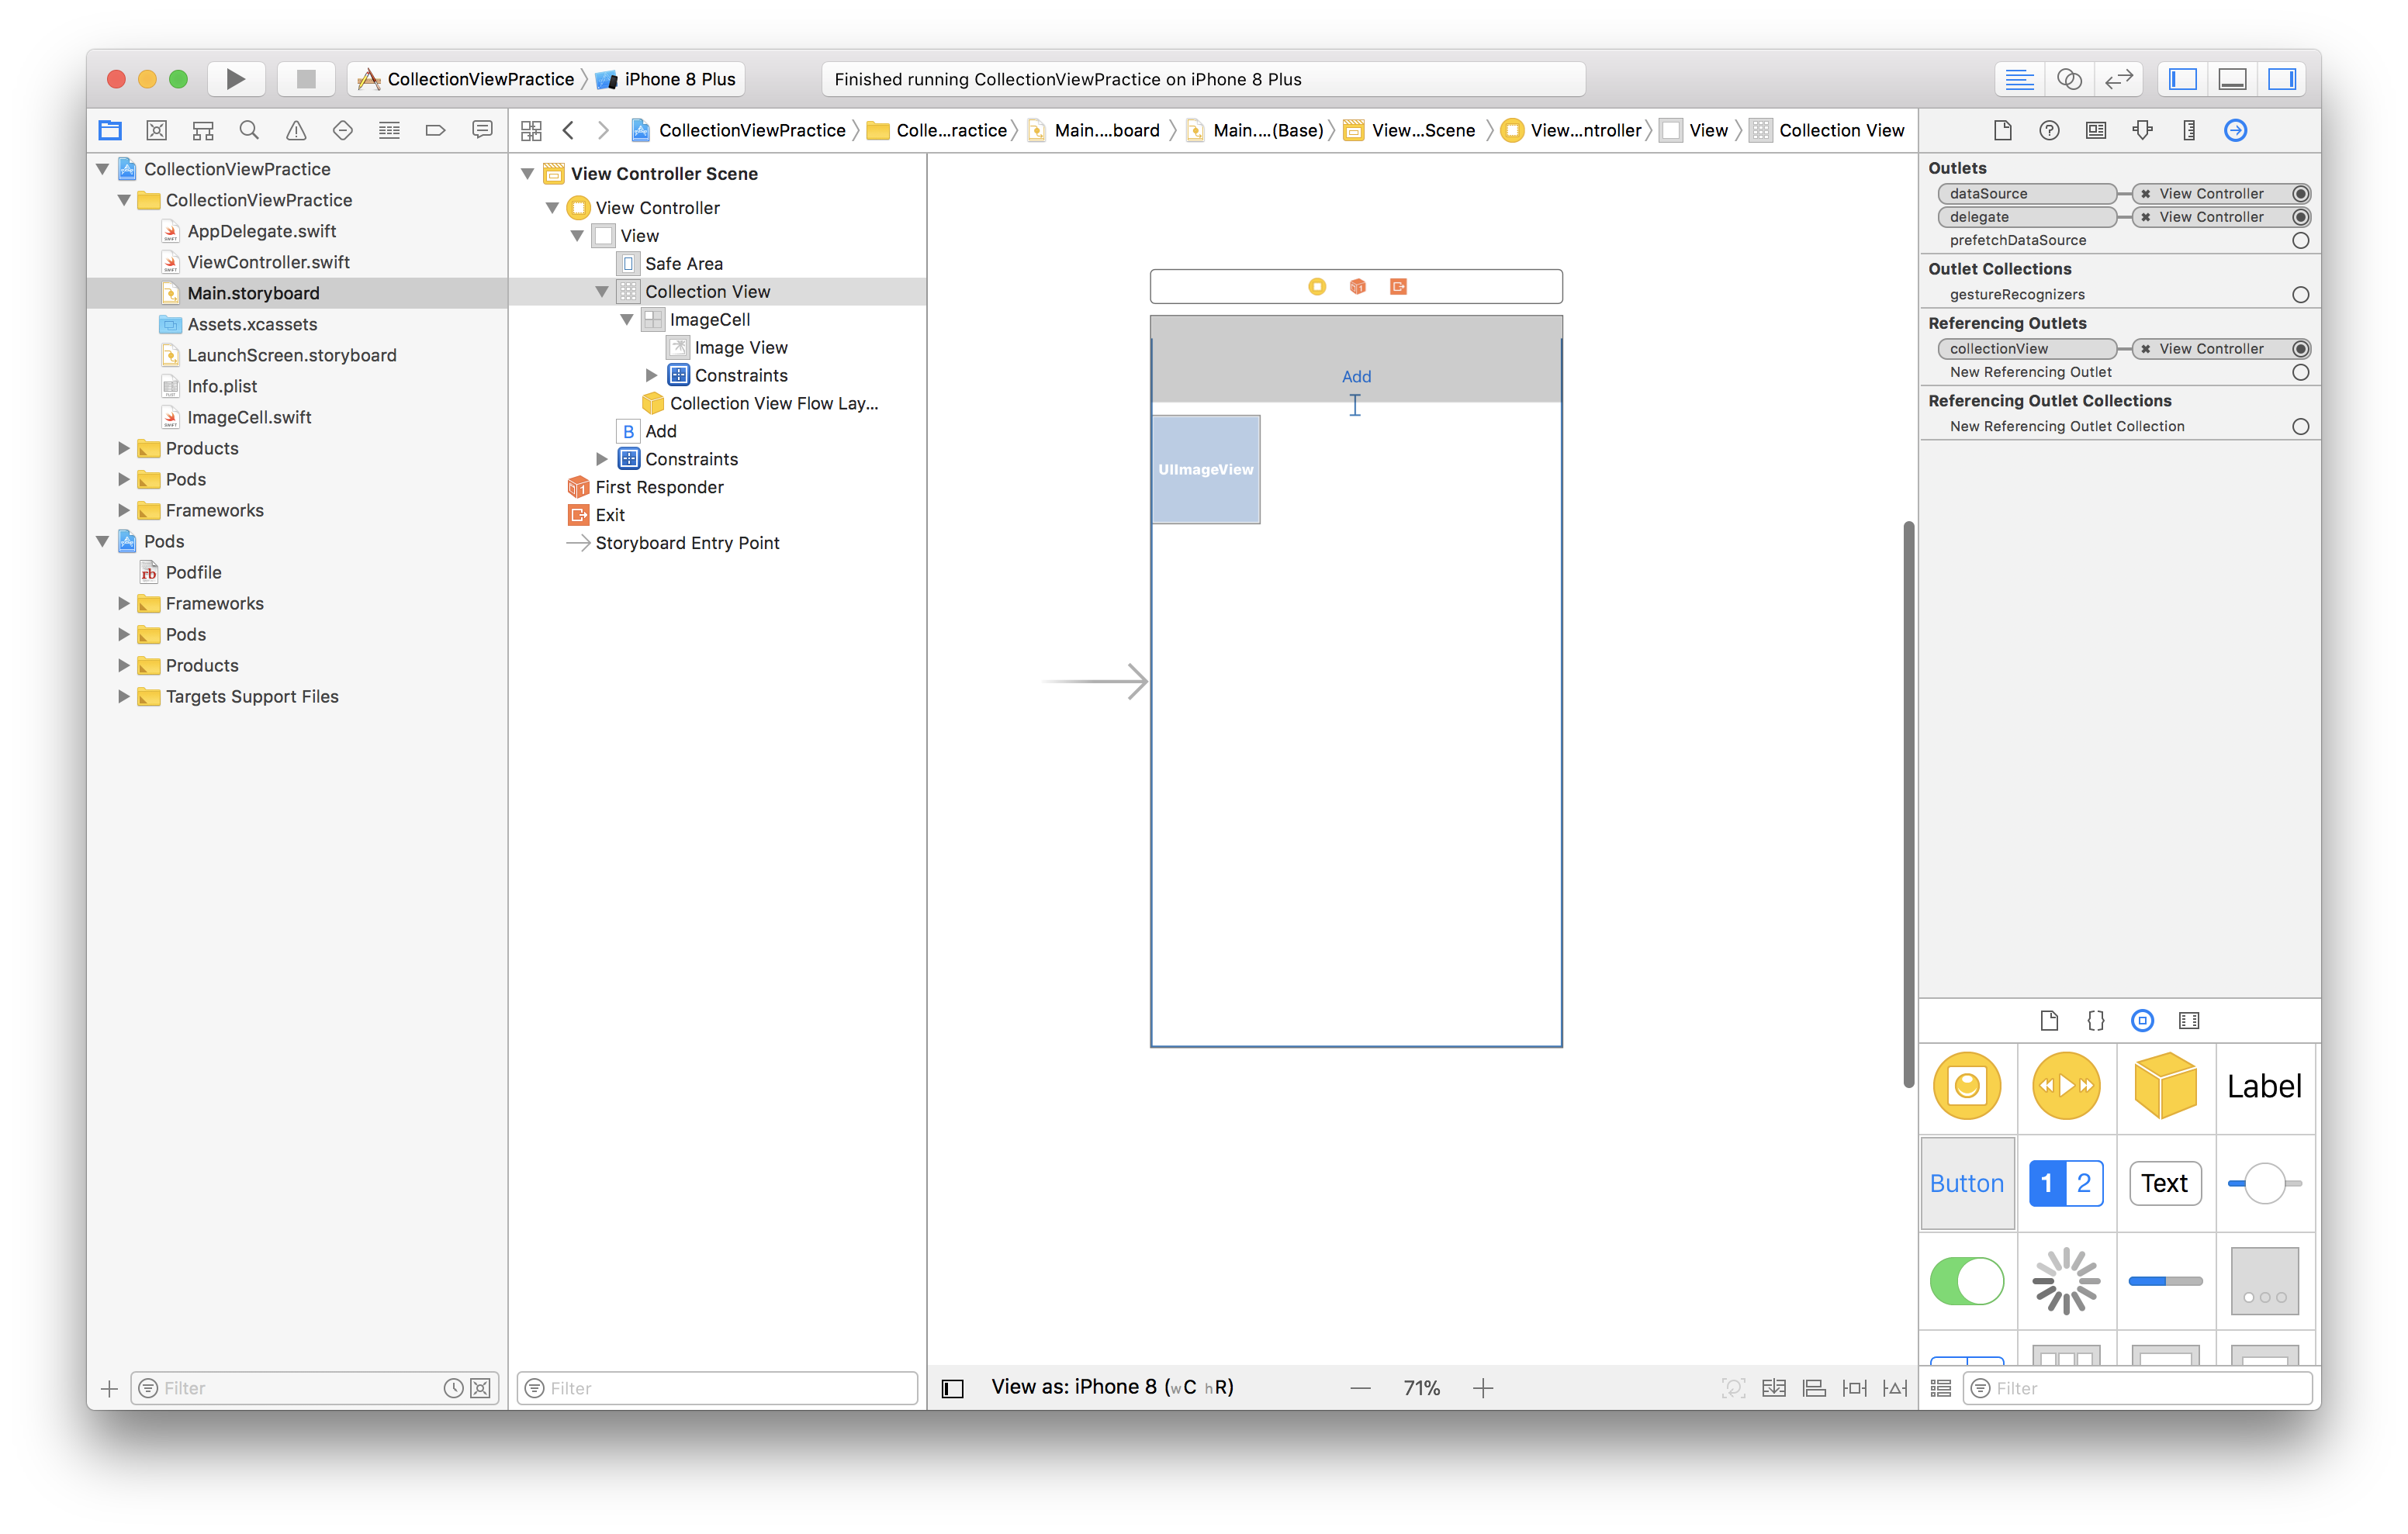
storyboard 연결
 Outlets의 dataSource와 delegate interface를 ViewController에 연결해준다.
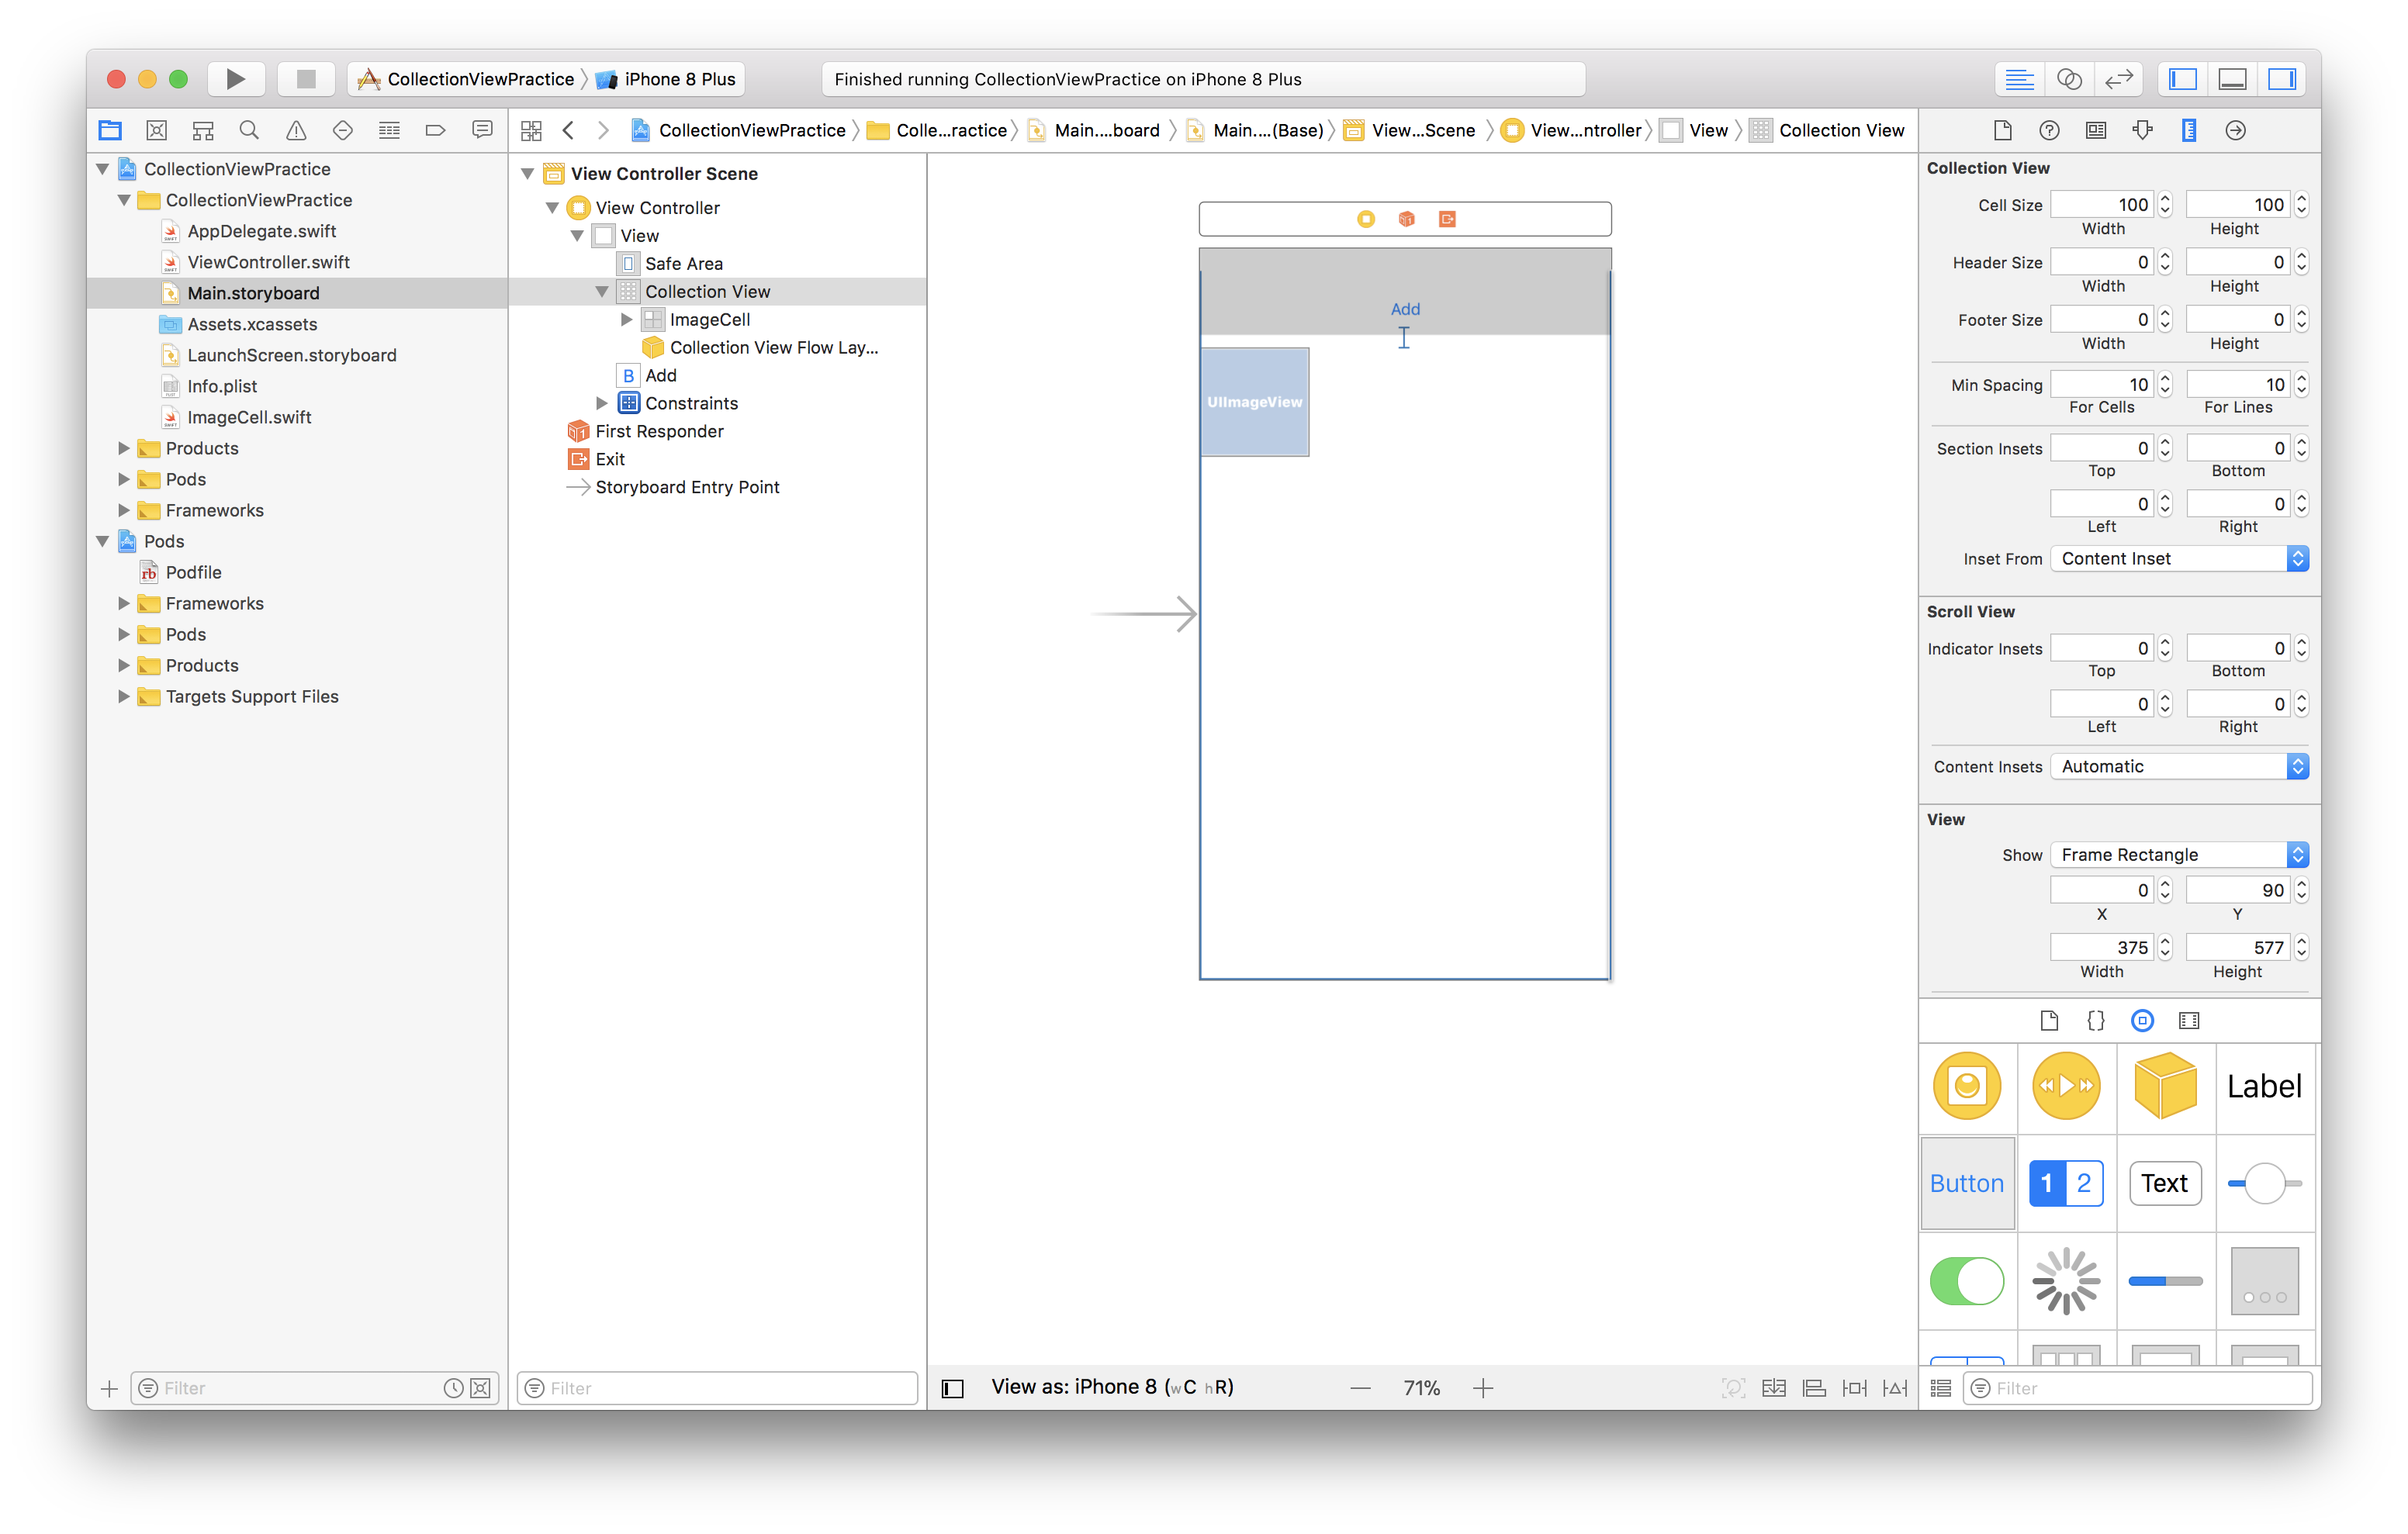
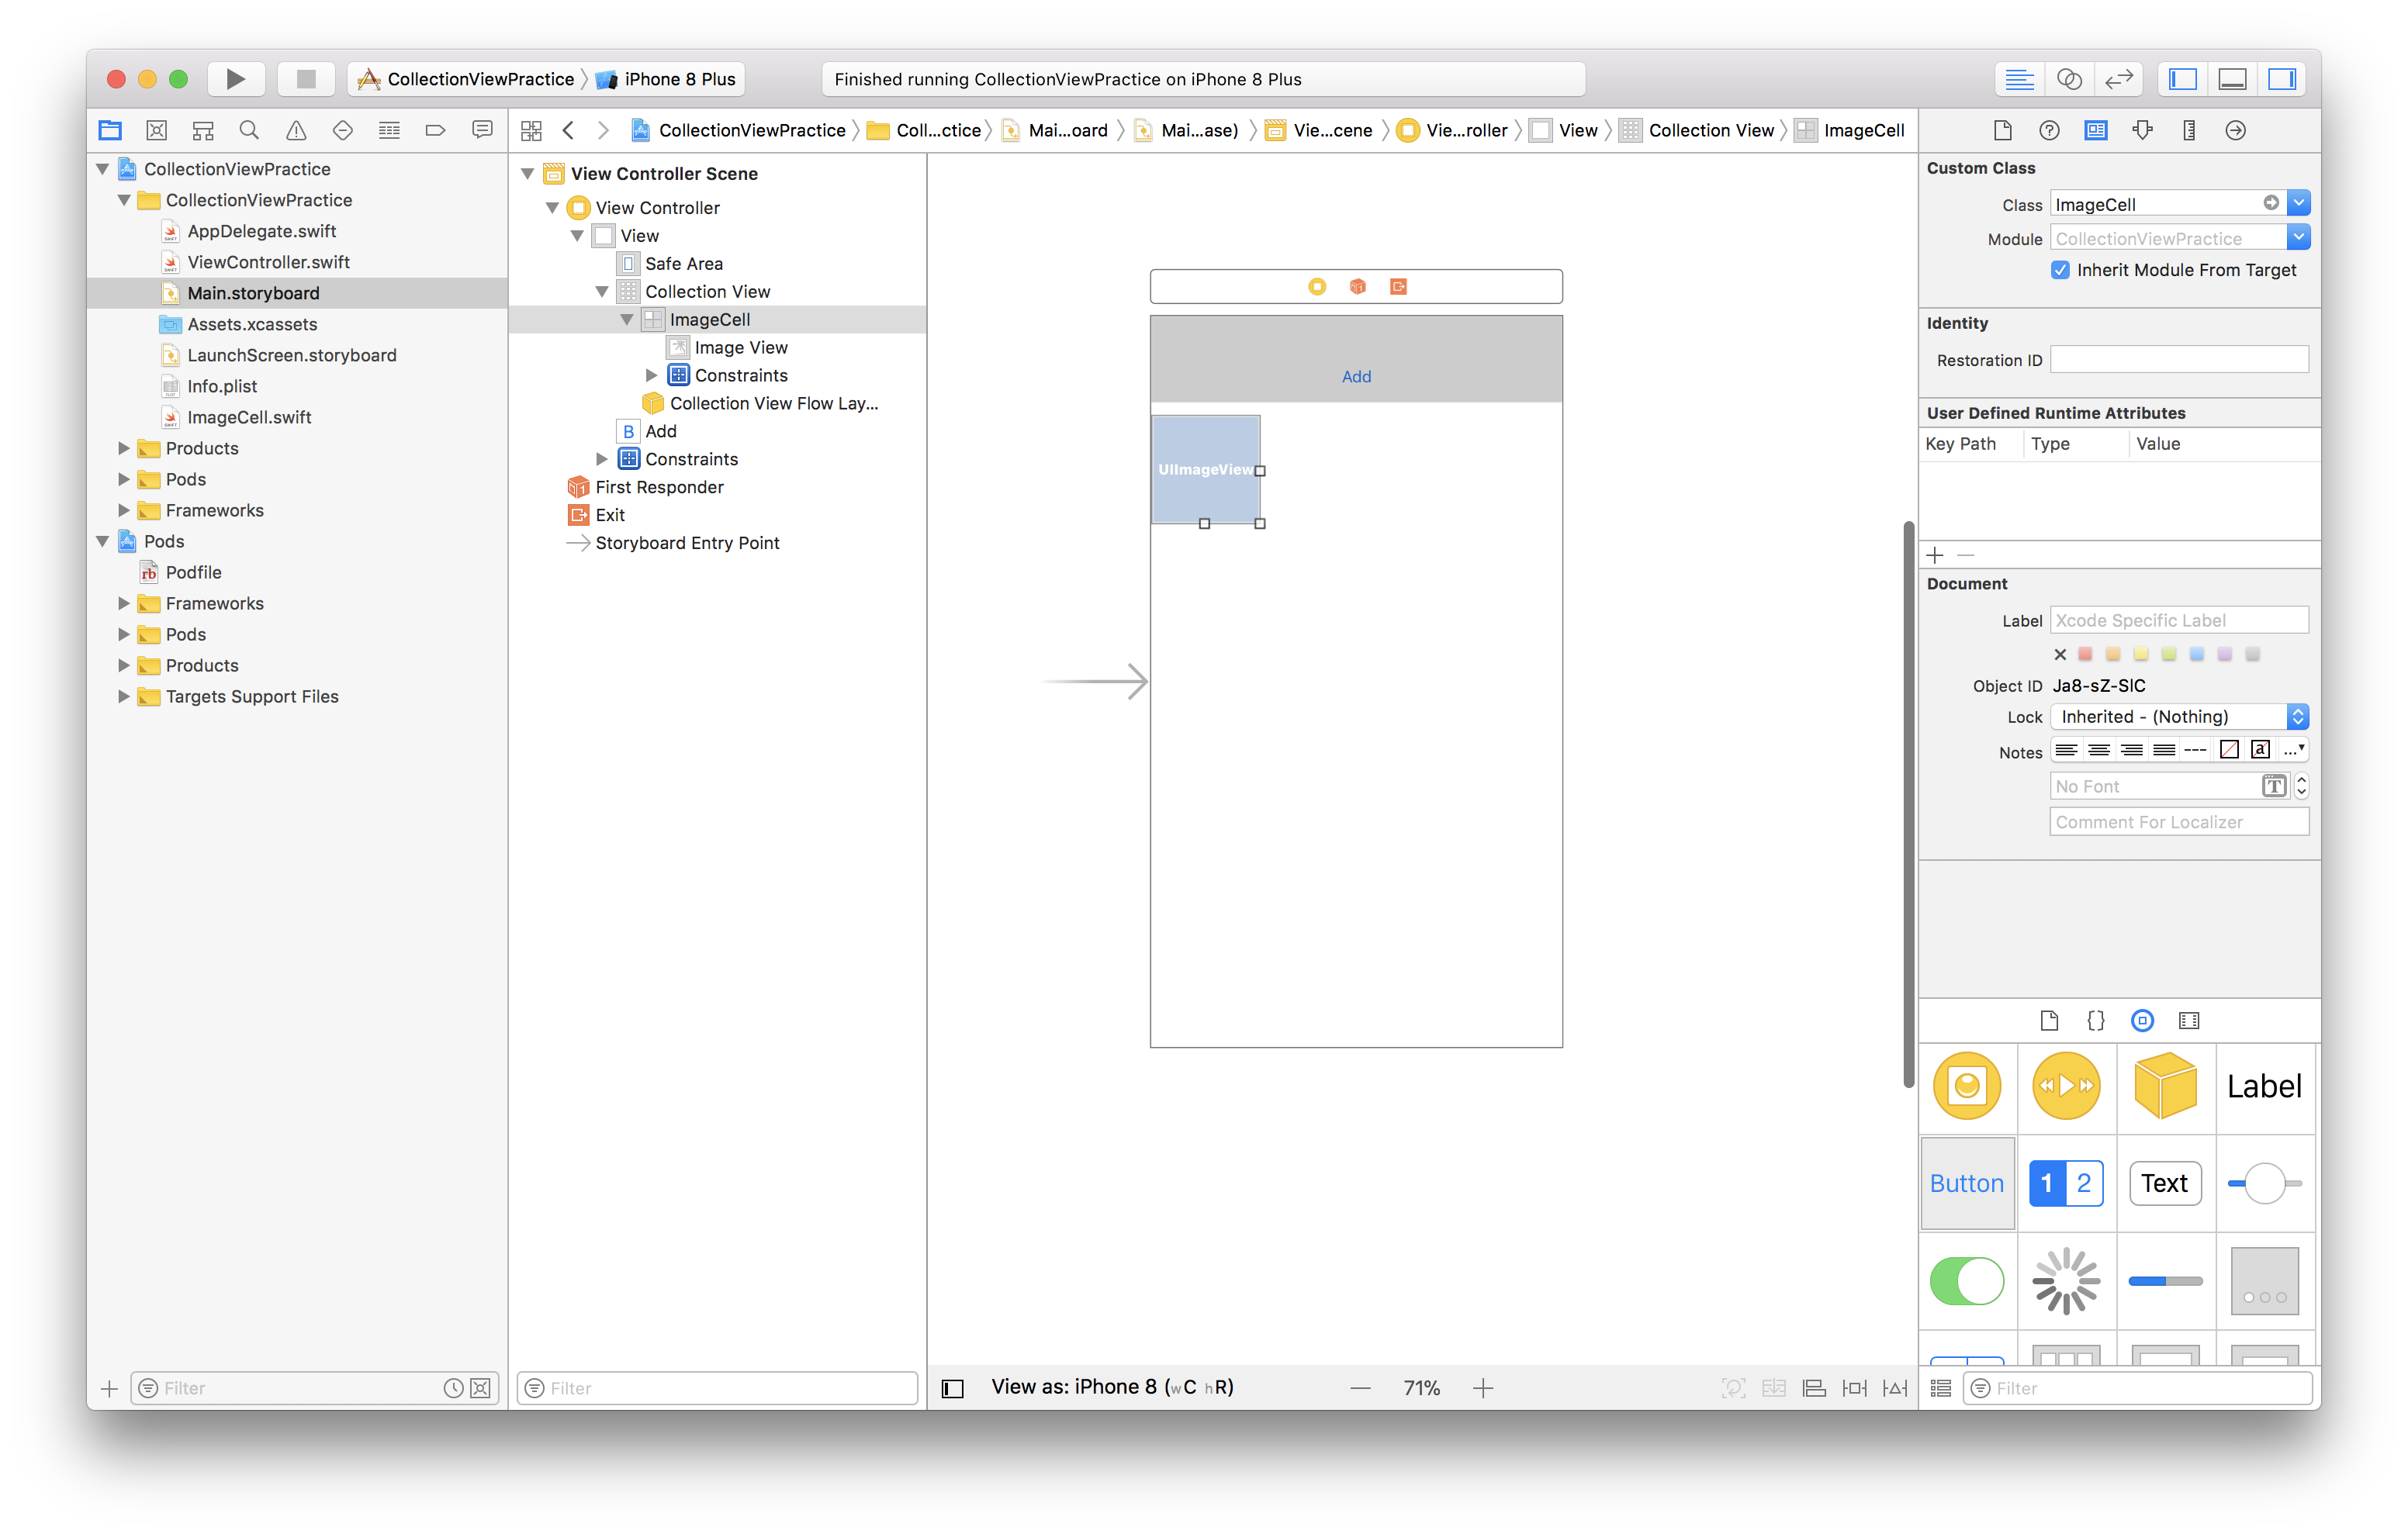
 imageView를 collectionView 안에 넣고 그와 연결된 새 Cocoa Touch class를 생성해준다. (ImageCell.swift)
 생성 후, storyboard에서 만든 ImageCell을 클릭하고 identify inspector의 class 이름을 똑같이 입력해야 storyboard와 연결된다.
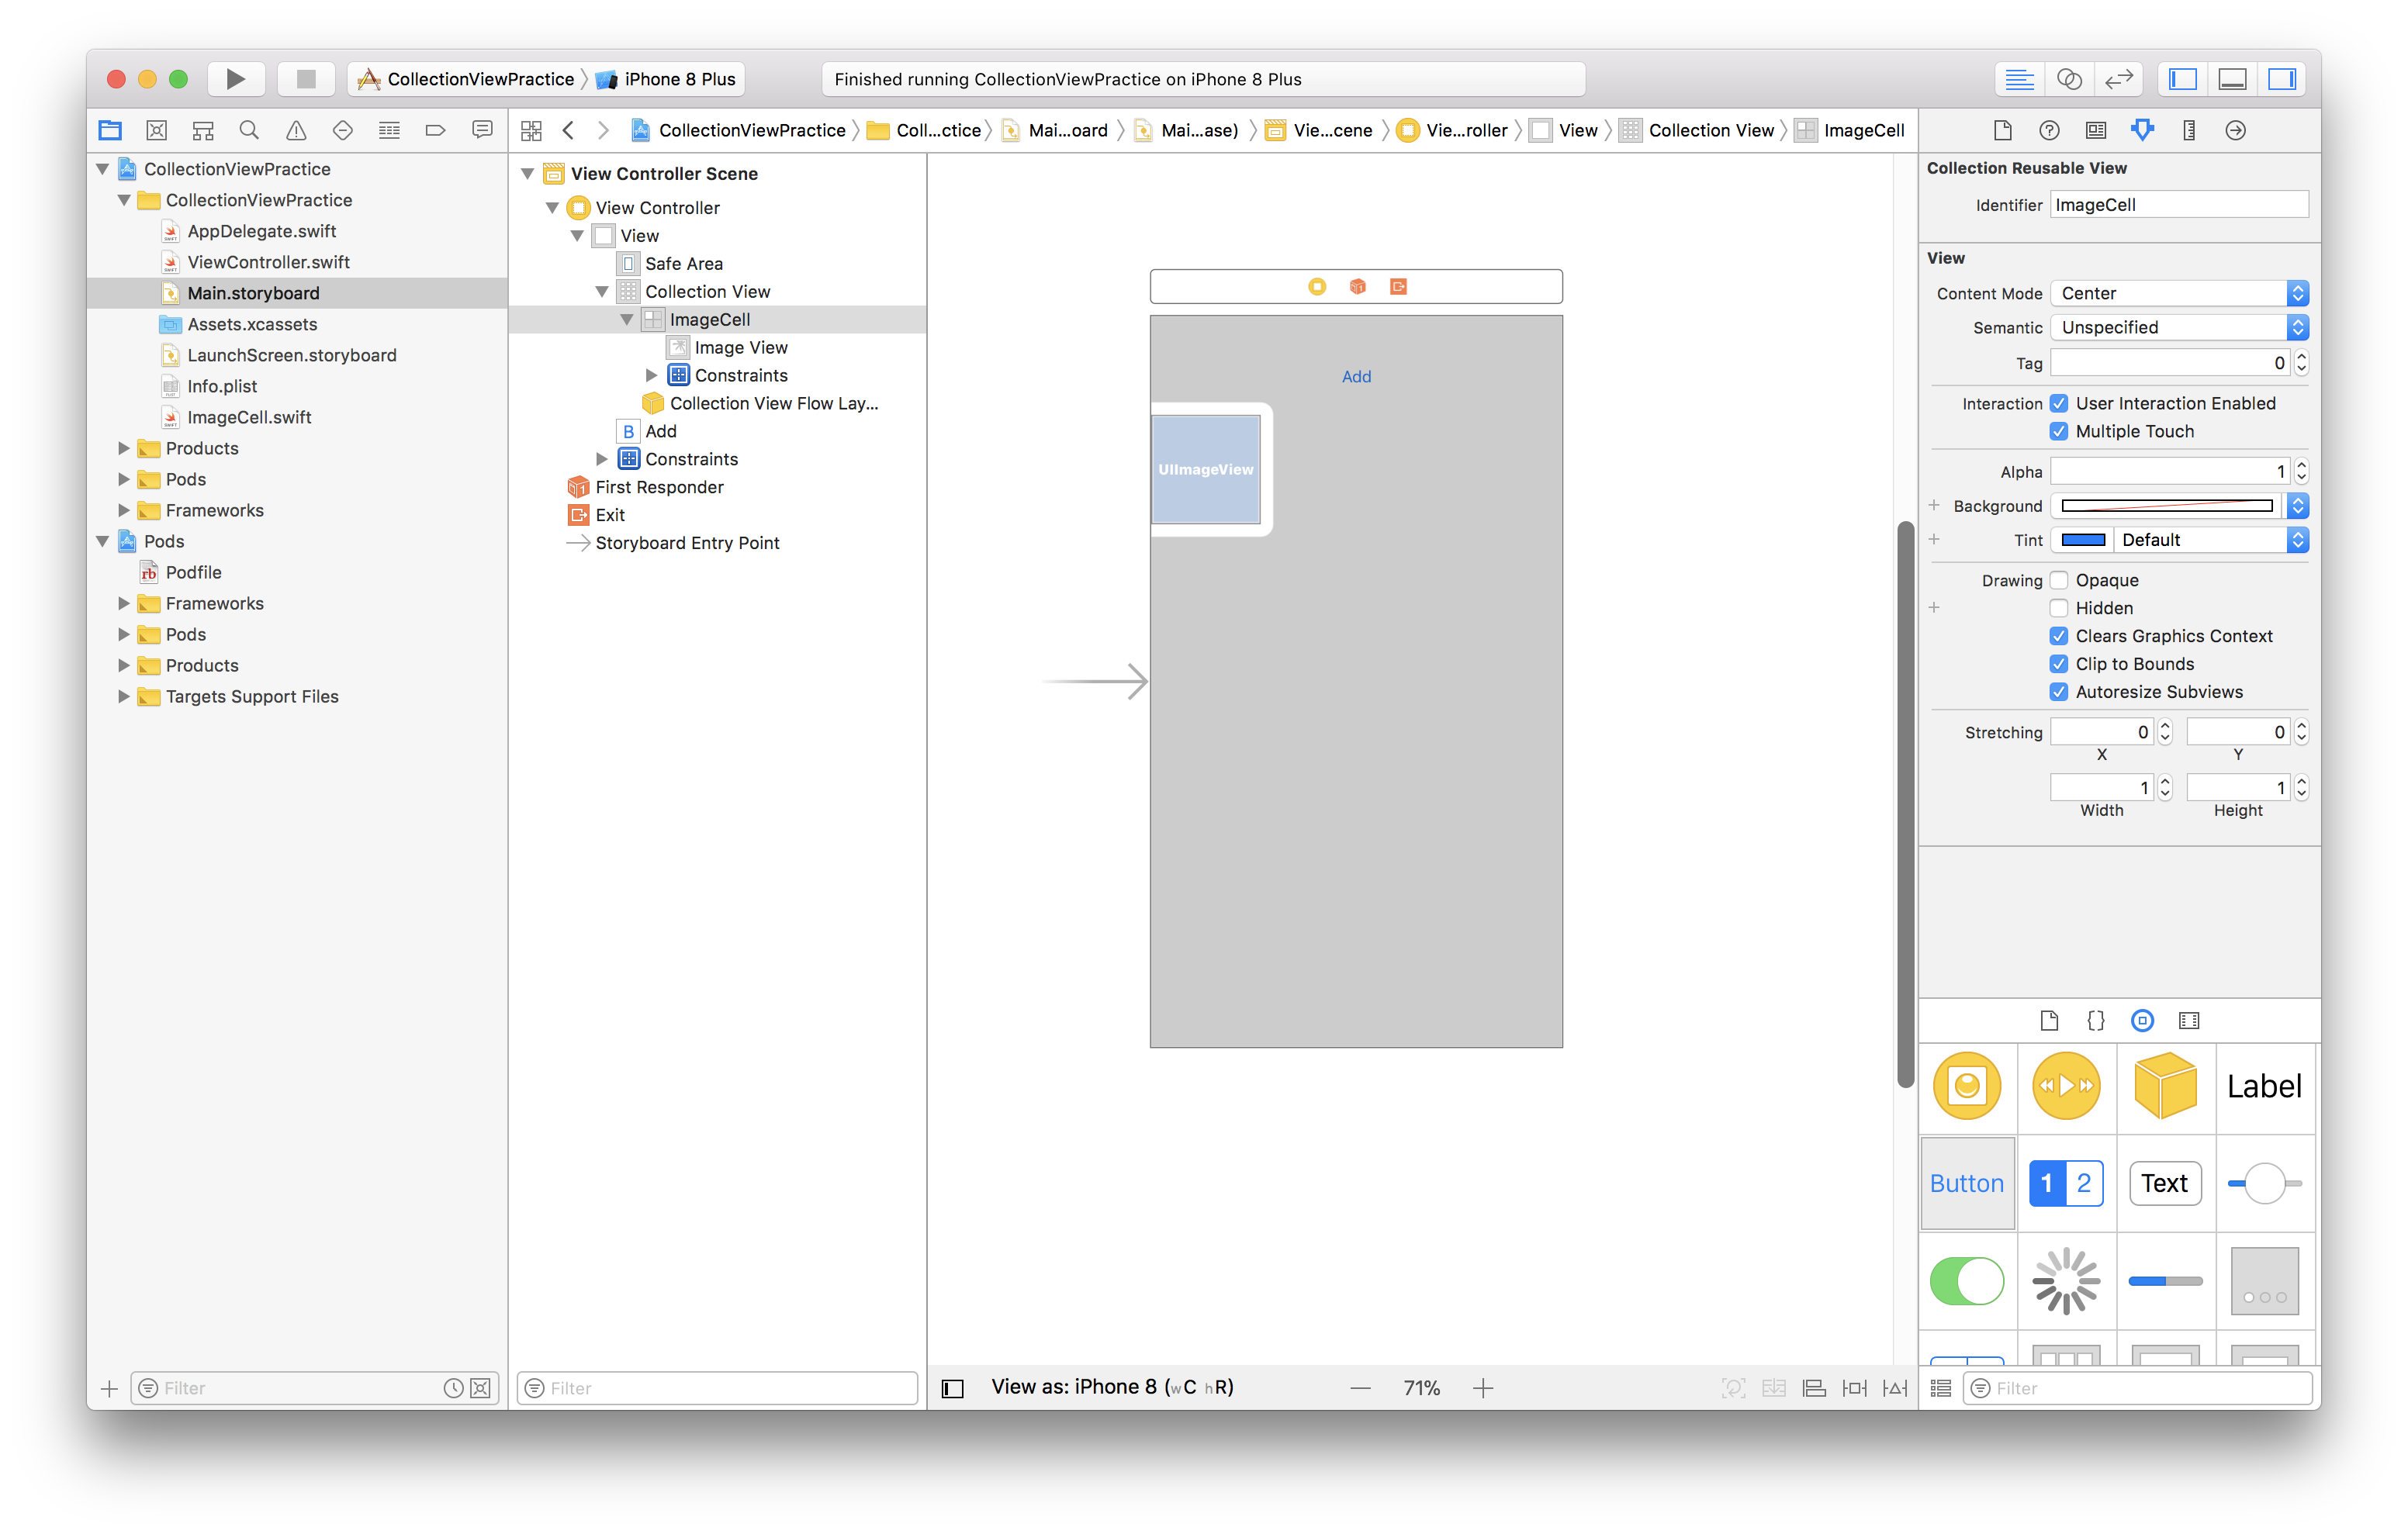
 attribute inspector의 identifier도 쉽게 클래스 이름과 동일히 입력해준다.
ViewController.swift에서 ImageCell을 재활용할 때 식별자로 입력하도록 한다.
ViewController.swift
class ViewController: UIViewController {
	@IBOutlet var collectionView: UICollectionView!
	var imageCount: Int = 0

	override func viewDidLoad() {
		super.viewDidLoad()
		// Loading bar 구현 확인을 위해 캐시 삭제
		ImageCache.default.clearMemoryCache()
		ImageCache.default.clearDiskCache()
		ImageCache.default.cleanExpiredDiskCache()
	}

	@IBAction func add() {
		self.imageCount += 1
		collectionView.reloadData()
	}
}

extension ViewController: UICollectionViewDelegate. UICollectionViewDataSource {
	func numberOfSections(in collectionView: UICollectionView) -> Int {
		return 1
	}

	func collectionView(_ collectionView: UICollectionView, numberOfItemsInSection section: Int) -> Int {
		return self.imageCount
	}

	func collectionView(_ collectionView: UICollectionView, cellForItemAt indexPath: IndexPath) -> UICollectionViewCell {
		let imageCell = collectionView.dequeueReusableCell(withReuseIdentifier: "ImageCell", for: indexPath) as! ImageCell
		// Kingfihser 라이브러리를 사용하여 이미지 가져온다. transition으로 애니메이션 효과를 준다.
		imageCell.imageView.kf.setImage(with: URL(string: "http://via.placeholder.com/100x100"), options: [.transition(.fade(0.5))])
		return imageCell
	}
}
